Having a single source of state in your smarthome is great. It solves a lot of problems when it comes to visualizing, what currently happens in your smarthome. What many people don't think of is that this most of the time also comes with a problem called "Single point of failure" (SPOF).
When your Loxone Miniserver dies because of hardware failure, there is nothing much left you can do inside your house (before you get a new one). You can't turn your lights on or open your window blinds. I think that Loxone's Miniservers are pretty reliable and durable, so you might think, that there is nothing to worry about.
In reality, the most common reason for a Miniserver to fail is a damaged SD-card. Because of their nature, they only can support a certain amount of reads and writes before they fail. So depending on what you do, it might happen, that your SD-Card (from which your Miniserver boots), stops working. E.g. if you enabled a lot of logging in your Loxone Config project, there are a lot of writes the card needs to handle.
After you insert a new SD-card, you can re-upload your configuration and everything works again. But all your statistics data is gone. In my house this would be bad, because I would loose all my records for solar power production, temperature measeurments and many more.
What is LoxBerry?
LoxBerry is a plugin platform for Raspberry Pi. It runs a webinterface on your Pi that you can use to manage and install plugins that can help extend your Miniserver's functionality. There is a long list available at their website that contains useful plugins like Weather4Loxone which emulates Loxone's own weatherservice so you don't have to pay for it. Another great plugin I'm using is Miniserverbackup. (Note: the website is only available in German, but you can quite easly use Google Translate to get a quick translation).
Configuring the backup
I am not going to demonstrate how to install and setup your LoxBerry, as there is plenty of documentation found on their website. So after you can access the webinterface, click on Plugin Management. Now you have the option to paste a link to the plugin you want to install. You can get the link from the plugin's detail page.
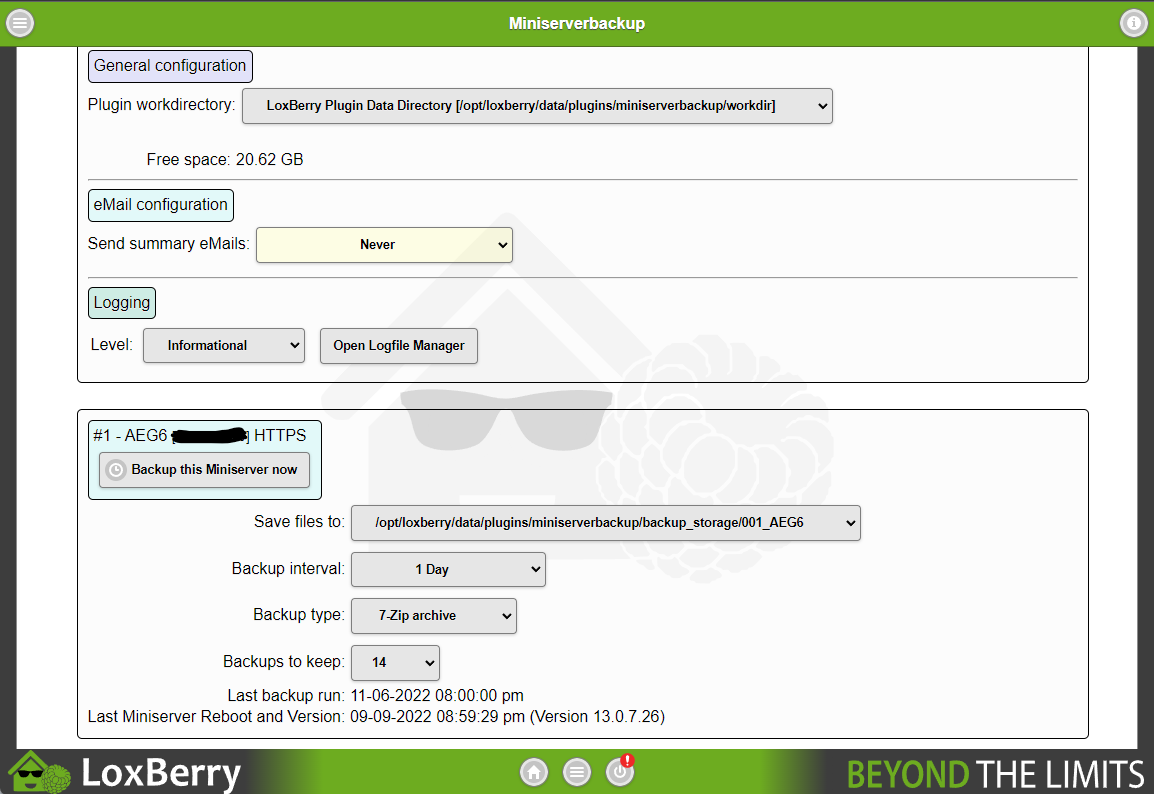
After successful installation, go back to your list of installed plugins and select Miniserverbackup. You then get to see your plugin' settings page, where you can configure where to store your backups, how often you want them to happen and how long you want to keep them, if you want to get an email notification and which Miniserver to backup. (Note: You have to add at least one Miniserver to your LoxBerry before you can enable backups. To use email notifications you need to setup LoxBerry's email functionality in the settings and supply a valid mail account to use.)

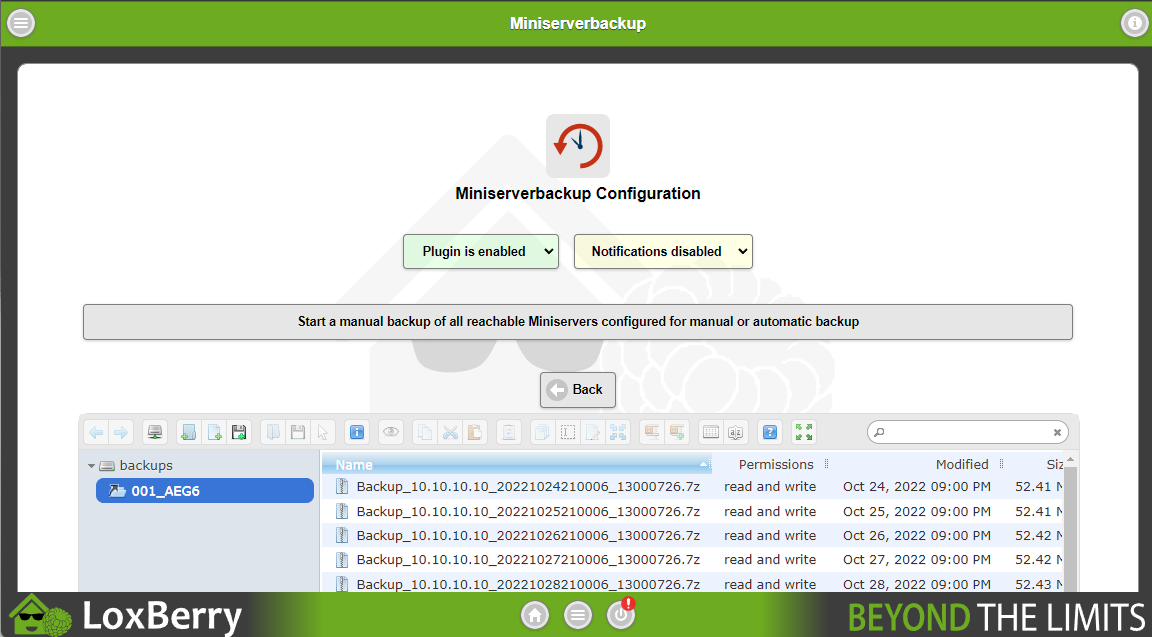
If everything is set up correctly, you should start seeing your backups at the file explorer at the top of the page similar to this:

With this default configuration, backups are stored locally on your Pi. If you have a NAS for example, you can configure LoxBerry to mount one of your NAS's shares and tell the plugin to use this share as a backup target.
You can either directly download your backups from the webinterface or get them from your external storage location. In both cases, you can then use your Loxone Config to restore these backups while maintaining all your settings and all your statistics.
Like what you are reading?